Which Teide Excursion to Choose
Pick the Las Cañadas viewpoints to see the caldera, the cable car to reach La Rambleta, or a night departure for stargazing. To climb from La Rambleta to the summit on foot, you need a separate booking for the PNT 10 trail.
From the caldera to the summit.
Pick a stop on the relief map or in the list with names and elevations. Below you will see the stretch, the effort and the booking that applies.
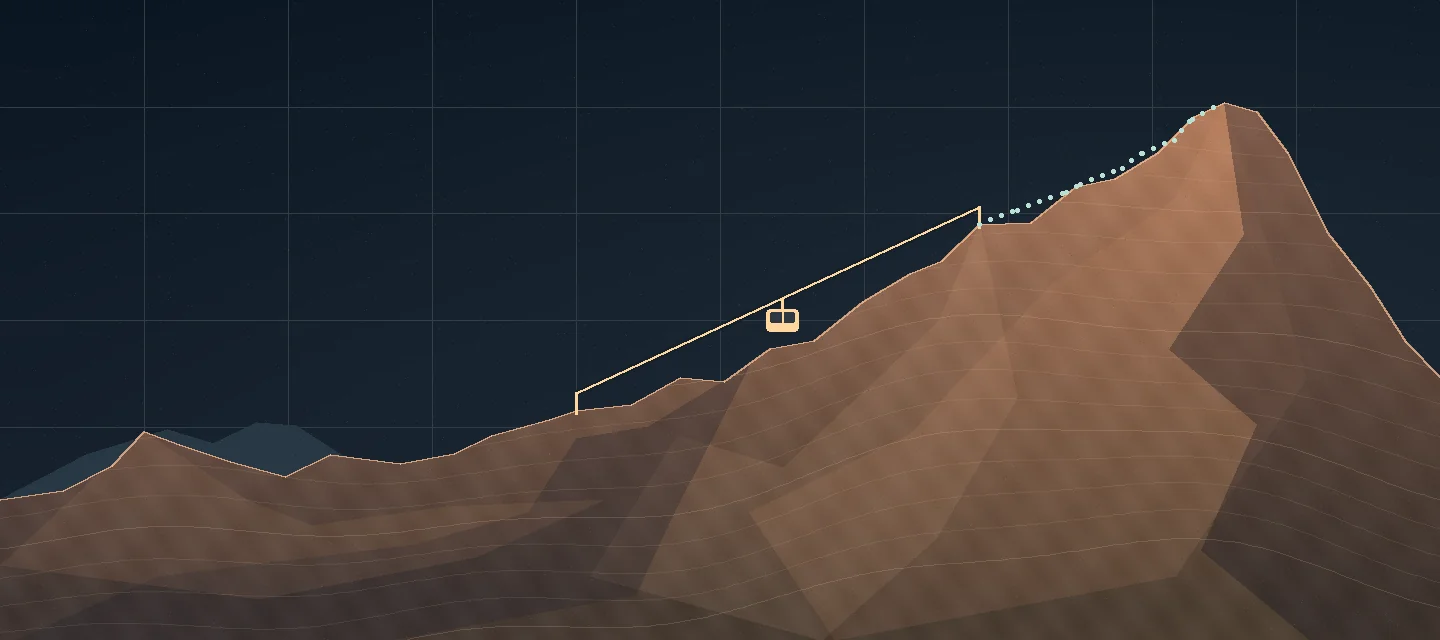
Stop: Las Cañadas · Caldera and viewpoints
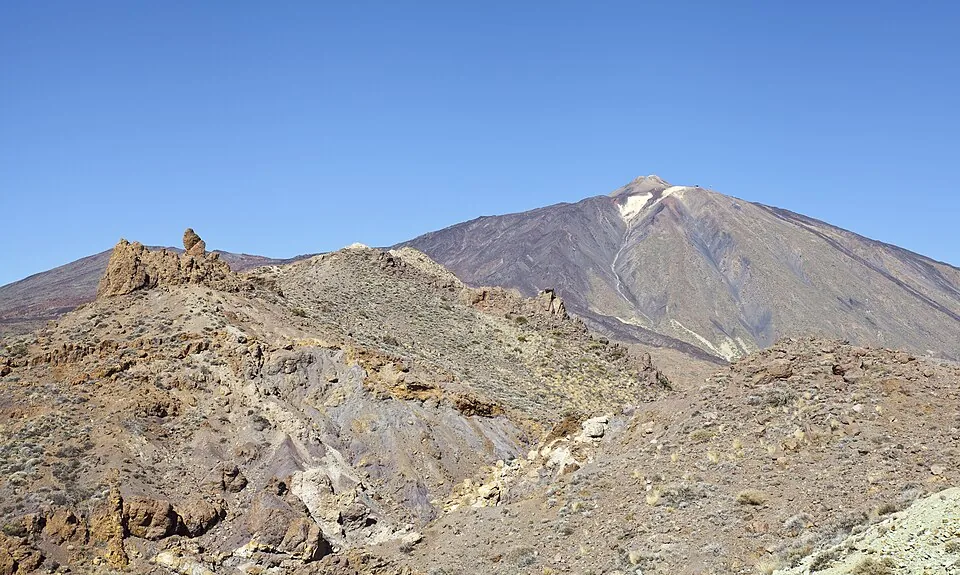
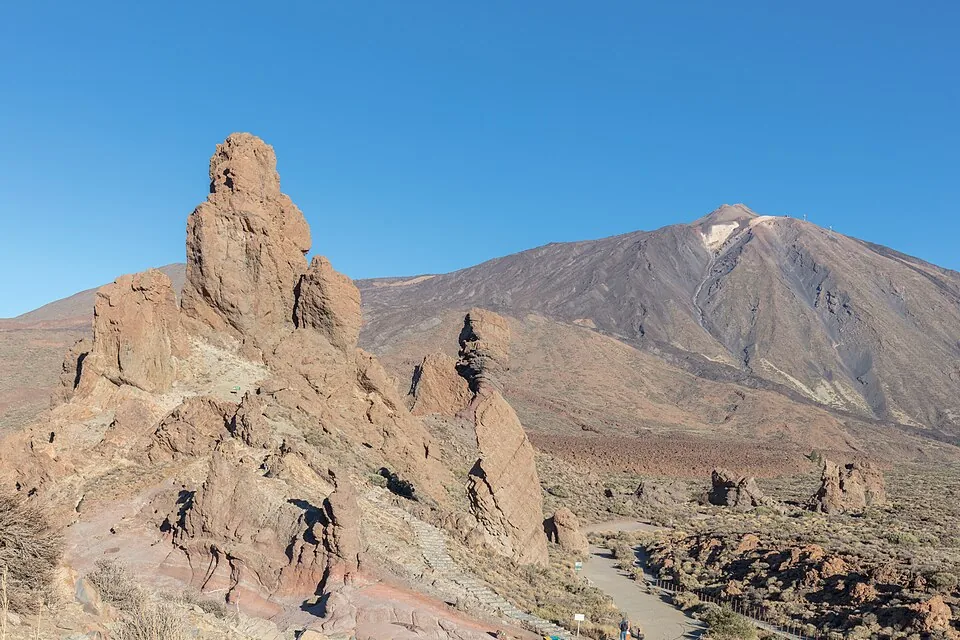
The Las Cañadas viewpoints
- Getting there
- By road
- Effort
- You can stop at the Roques de García and the Llano de Ucanca. If you add a walk, check the difficulty of the trail.
- Booking and access
- Check the park accesses. Each regulated trail has its own requirements.
Stop: Base station · 2.356 m
Las Cañadas to the base station
- Getting there
- Transfer to boarding
- Effort
- Arrange your own arrival or check the pickup point of your excursion. Leave a margin to reach boarding.
- Booking and access
- If you are going up, choose a timed ticket or an excursion that includes it. Check the return as well.
Stop: La Rambleta · 3.555 m
Base station to La Rambleta
- cable car ride
- ≈ 8 min
- Getting there
- Cable car
- Effort
- The cable car covers the ascent to the upper station. Check the boarding rules and the notices if you want to keep walking.
- Booking and access
- Cable car ticket for this stretch. To continue to the summit, book the PNT 10 as well.
Stop: Pico del Teide · 3.718 m
La Rambleta to Pico del Teide
- linear trail
- 0.69 km
- reference time
- 45 min
- Getting there
- On foot via Telesforo Bravo
- Effort
- The PNT 10 is a linear trail with a steep gradient at high altitude. Count the return as well when planning your time slot.
- Booking and access
- Confirm the PNT 10 authorization and check the required equipment and trail notices.
Elevations checked on . Volcano Teide · Stations · Canary Islands Government · Summit and PNT 10 · Tenerife ON · Permit FAQ
What you need to book
Park and viewpoints
Check the access to Teide National Park and the status of the viewpoints. If you plan to walk beyond a viewpoint, review the conditions of the trail you choose.
Government of the Canary Islands · Park accessCable car
Book the cable car ticket or an excursion that includes it. The upper station is La Rambleta, at 3,555 m. Check the boarding rules and the service status.
Volcano Teide · Cable car access rulesSummit trail
To reach the summit via Telesforo Bravo you need an authorization for the PNT 10. Book on Tenerife ON or choose an excursion that handles it. Respect the entry and exit time slot.
Government of the Canary Islands · Permits and high-mountain gearRules checked on .
What to check before setting out.
Choose your option to see the gear and checks.
Viewpoints
Effort and routeYou can visit roadside viewpoints and decide on the spot how far to walk. Check the difficulty of each trail before adding it.
What to bring to the viewpoints

- Footwear
- Pick a pair that suits the walk you are going to do.
- Water
- Bring a bottle for the stops and the walking section.
- Warm layers
- Adjust your layers to the warnings and to your route.
Personal checklist. Checkmarks only record what you have reviewed. They do not grant access or confirm it is safe to set out. Check the official warnings and your ticket or permit, depending on the section.
Cable car
Effort and routeThe cable car reaches La Rambleta, at 3,555 m. You can limit your visit to the upper station area.
What to bring for the cable car

- Closed-toe shoes
- The operator requires non-slip soles and sports shoes or hiking boots.
- Warm layers
- Have them ready for the visit to the upper station.
- Ticket
- Keep your time slot and return option handy.
Personal checklist. Checkmarks only record what you have reviewed. They do not grant access or confirm it is safe to set out. Check the official warnings and your ticket or permit, depending on the section.
Summit
Effort and routeTelesforo Bravo is a short, steep section that starts at altitude. If you climb from Montaña Blanca, add the effort and requirements of PNT 07.
High-mountain gear for the summit
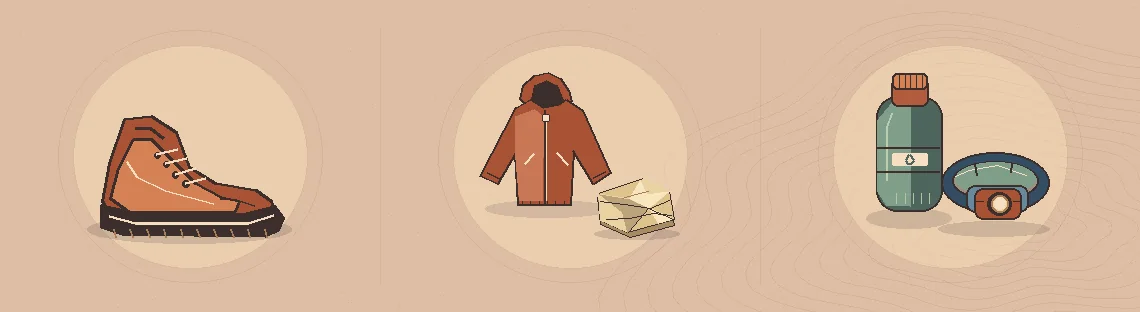
- Hiking boots
- Check what the listing for your trail requires.
- Warm layers and thermal blanket
- Check both in the booking conditions.
- Water and flashlight
- Confirm the gear list and the warnings currently in force.
Personal checklist. Checkmarks only record what you have reviewed. They do not grant access or confirm it is safe to set out. Check the official warnings and your ticket or permit, depending on the section.
Night
Effort and routeThe guided walk from the Parador covers about 5 km in 2 h 30 min, according to its listing. The tour with pickup from the south is a different activity.
What to bring on the night walk

- Warm layers
- Bring layers for the walking section and the stops.
- Walking shoes
- Confirm your organizer's instructions.
- Flashlight
- The Parador walk includes their use. Check your option.
Personal checklist. Checkmarks only record what you have reviewed. They do not grant access or confirm it is safe to set out. Check the official warnings and your ticket or permit, depending on the section.
Sources and listings checked on . Check the warnings in force for your visit.
Four ways to visit Teide.
Compare what each option includes and how you get to the starting point.
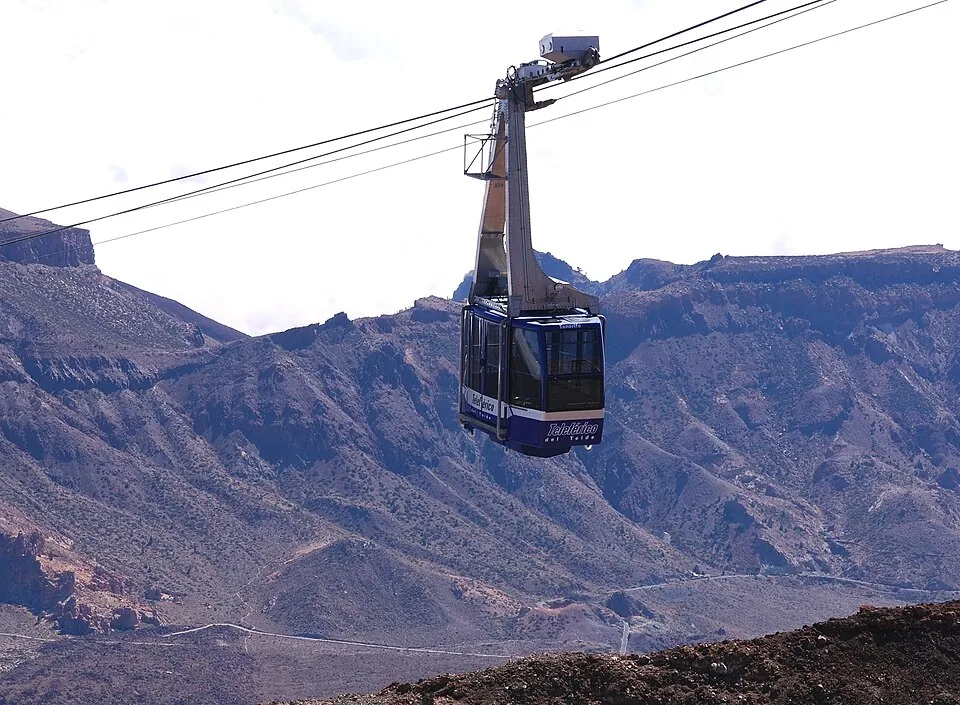
Teide with cable car from the north
Paid separately · Lunch
Cable car and summit climb
From age 6 · Confirmed once the permit is issued
Teide from the north, optional cable car
Optional on site · Cable car (€37 per non-resident adult)
Civitatis prices, ratings and conditions checked on . Check the price for your date on the listing.
What changes from one option to another
If you want to see the caldera landscape
Spend your visit at the Roques de García and the Llano de Ucanca. With an excursion that has an optional cable car you can focus on the viewpoints and arrange the transfer from your area. On your own, check the access and the trail for each stop.
If you want to ride the cable car
The excursion with a ticket includes transport to the base station and takes you up to La Rambleta. If you go on your own, buy the ticket for a time you can realistically make. The cable car and the trails have separate notices.
If your goal is the crater
Match the PNT 10 to your ascent and descent. The final trail is short, steep and at high altitude. An excursion that handles the permit still depends on the authorization being confirmed.
If you are going stargazing
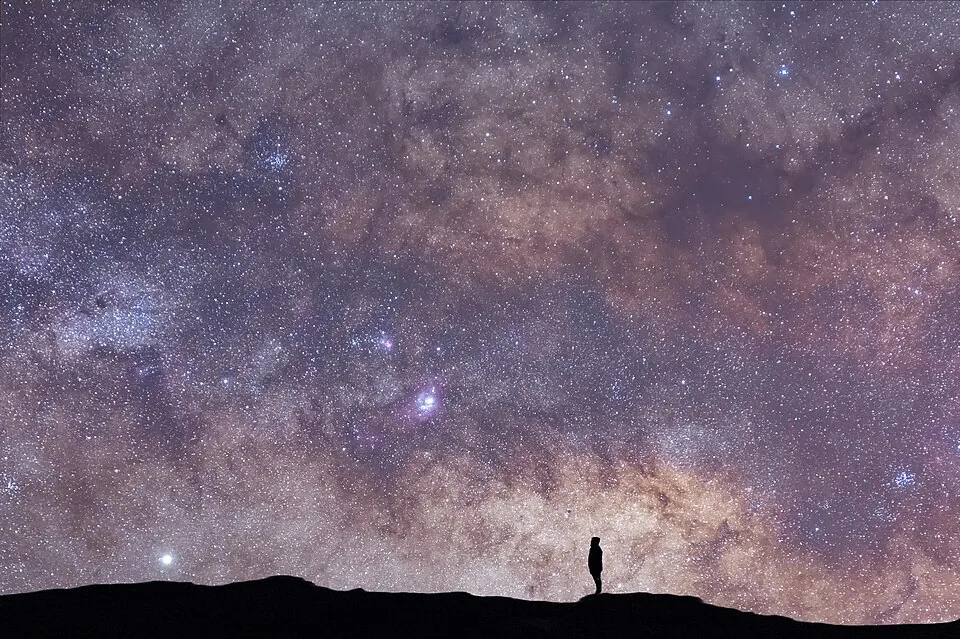
The short walk meets at the entrance of the Parador. If that option does not include transport, plan your own way there and back. From the south there is another night excursion with pickup and a different total duration.
Frequently asked questions
What do I need to visit the park, ride the cable car or reach the summit?
Check the park accesses to visit its viewpoints. For the cable car you need a ticket. The final stretch on foot to the summit requires PNT 10 authorization.
How demanding is the last stretch to the summit?
Telesforo Bravo is a short, steep stretch that starts at high altitude. Before you go, confirm your time slot, the condition of the trail and the mandatory equipment.
What can I do if the cable car is not running?
If the park accesses are open, check whether you can get to the Roques de García or the Llano de Ucanca. If the access roads are closed, choose a plan outside the park and check your booking with whoever issued it.
Do I have to get to the Parador on my own?
Yes, when your walk starts at the Parador and you have chosen an option without pickup. If you need a transfer from the south, compare the night excursion with pickup.