Teide National Park
Start at the Roques de García and the Llano de Ucanca to see the Las Cañadas landscape. For a guided visit, the night hike starts at €26. If you want to ride the cable car, compare the excursions from the north and the south.
Preparation checklist and backup planBooking options
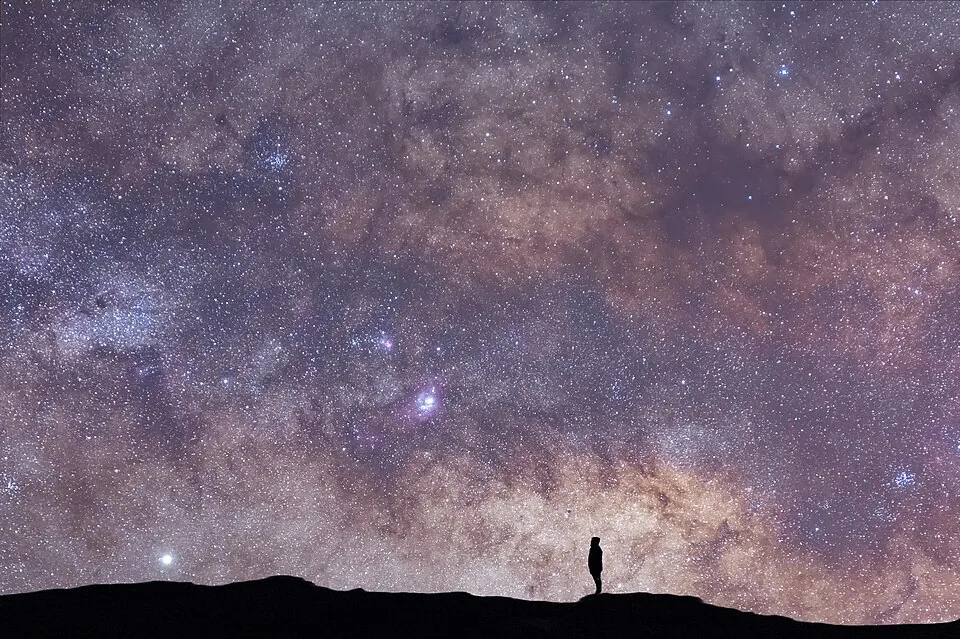
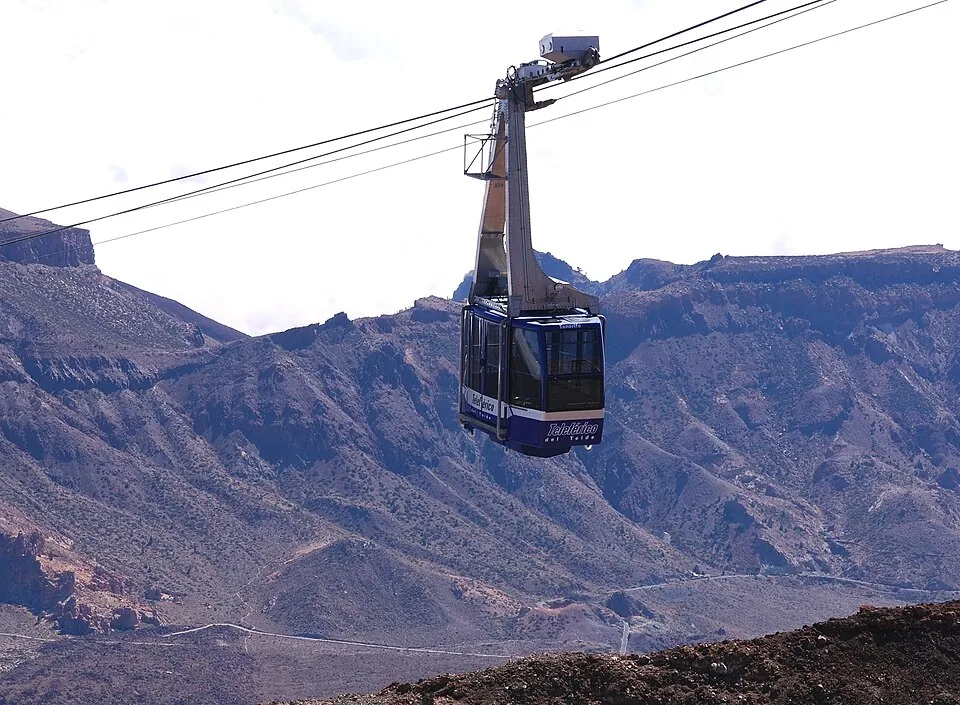
Teide with cable car from the north
Paid separately · Lunch
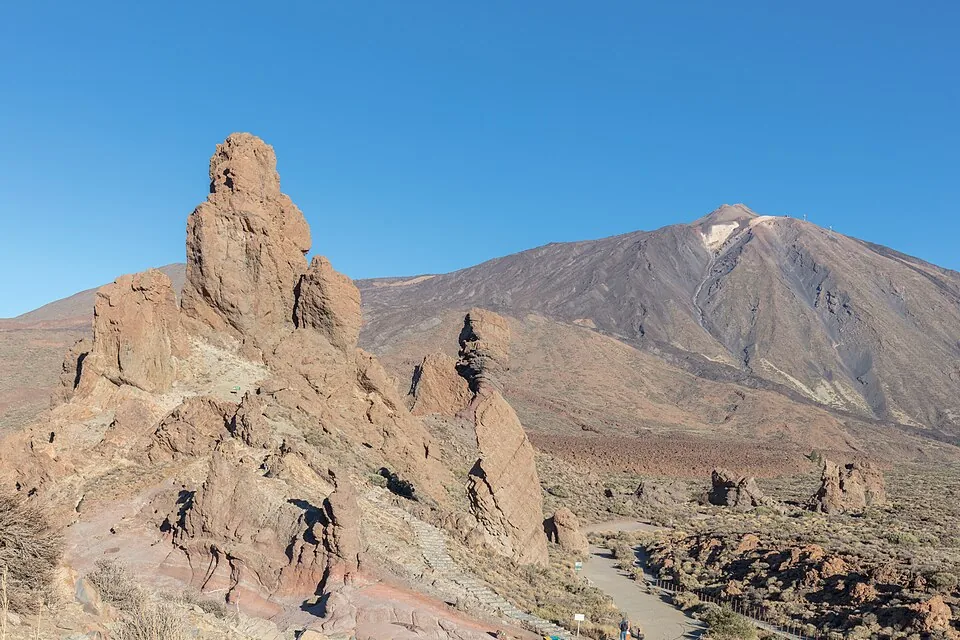
Teide with cable car from the south
Paid separately · Lunch
Civitatis prices, ratings and conditions checked on . Check the price for your date on the listing.
What to check before setting out.
Choose your option to see the gear and checks.
Viewpoints
Effort and routeYou can visit roadside viewpoints and decide on the spot how far to walk. Check the difficulty of each trail before adding it.
What to bring to the viewpoints
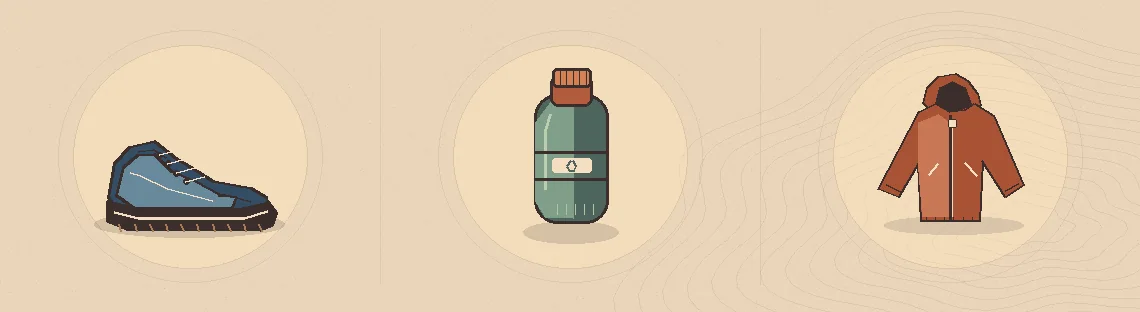
- Footwear
- Pick a pair that suits the walk you are going to do.
- Water
- Bring a bottle for the stops and the walking section.
- Warm layers
- Adjust your layers to the warnings and to your route.
Personal checklist. Checkmarks only record what you have reviewed. They do not grant access or confirm it is safe to set out. Check the official warnings and your ticket or permit, depending on the section.
Cable car
Effort and routeThe cable car reaches La Rambleta, at 3,555 m. You can limit your visit to the upper station area.
What to bring for the cable car
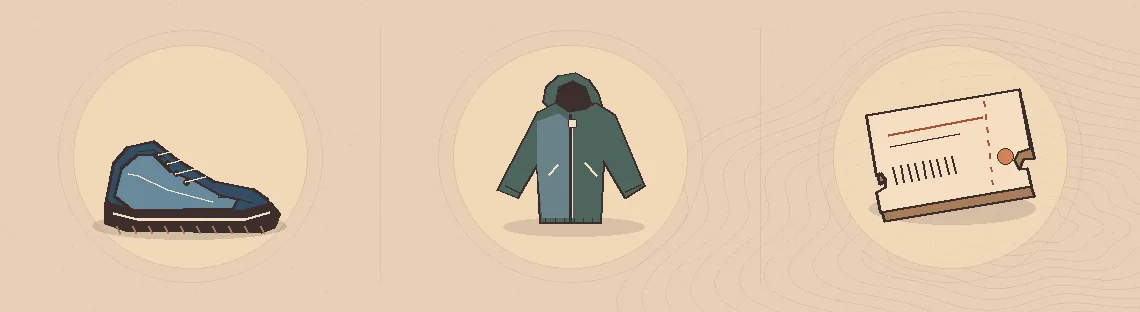
- Closed-toe shoes
- The operator requires non-slip soles and sports shoes or hiking boots.
- Warm layers
- Have them ready for the visit to the upper station.
- Ticket
- Keep your time slot and return option handy.
Personal checklist. Checkmarks only record what you have reviewed. They do not grant access or confirm it is safe to set out. Check the official warnings and your ticket or permit, depending on the section.
Summit
Effort and routeTelesforo Bravo is a short, steep section that starts at altitude. If you climb from Montaña Blanca, add the effort and requirements of PNT 07.
High-mountain gear for the summit
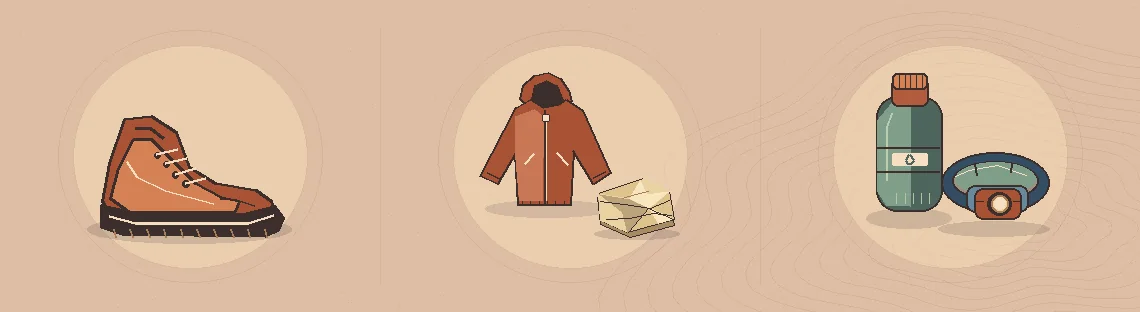
- Hiking boots
- Check what the listing for your trail requires.
- Warm layers and thermal blanket
- Check both in the booking conditions.
- Water and flashlight
- Confirm the gear list and the warnings currently in force.
Personal checklist. Checkmarks only record what you have reviewed. They do not grant access or confirm it is safe to set out. Check the official warnings and your ticket or permit, depending on the section.
Night
Effort and routeThe guided walk from the Parador covers about 5 km in 2 h 30 min, according to its listing. The tour with pickup from the south is a different activity.
What to bring on the night walk

- Warm layers
- Bring layers for the walking section and the stops.
- Walking shoes
- Confirm your organizer's instructions.
- Flashlight
- The Parador walk includes their use. Check your option.
Personal checklist. Checkmarks only record what you have reviewed. They do not grant access or confirm it is safe to set out. Check the official warnings and your ticket or permit, depending on the section.
Sources and listings checked on . Check the warnings in force for your visit.
What changes from one option to another
The caldera on foot
The viewpoints let you see Teide and the lava formations from the park road. Check Tenerife ON before adding a trail to your visit.
Ride up to La Rambleta
The cable car leaves from the base station. Excursions with a ticket combine the ride with a stop at the Roques de García.
At night in Las Cañadas
The 2 h 30 min walk lets you devote the visit to the night sky. The walking start point is the Parador.
Frequently asked questions
What can I see without using the cable car?
From the Roques de García and the Llano de Ucanca you can see the caldera, the volcano and the lava formations.
Do all viewpoints need a permit?
Authorization depends on the specific trail. Roadside viewpoints and regulated trails are checked separately.
How do I know if a trail is closed?
Check the route status and the Tenerife ON notices on the day of your visit.